How to Connect Your PlayStation VR2 Headset to a PC: Step-by-Step Guide
Unlocking the PlayStation VR2 on PC: A Comprehensive Guide
For PS VR2 owners eager to explore SteamVR's extensive game library, the path to PC compatibility wasn't always clear. Sony's $60 adapter, released last fall, bridges the gap, but the process isn't entirely plug-and-play. This guide provides a detailed walkthrough, addressing potential setup challenges.
Essential Equipment
Before starting, ensure you have:
- PlayStation VR2 headset
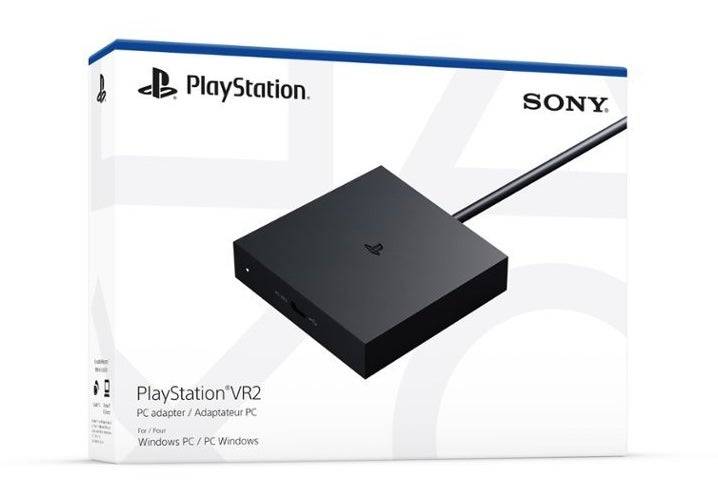
- PlayStation VR2 PC adapter (includes AC adapter and USB 3.0 Type-A cable)
- DisplayPort 1.4 cable (sold separately)
- Free USB 3.0 Type-A port on your PC (while Sony advises against extension cables or external hubs, a powered hub may work)
- Bluetooth 4.0 capability (built-in or via an external adapter)
- Steam and SteamVR installed
- PlayStation VR2 app installed on Steam
- Two USB-C charging ports and cables for the Sense controllers (or the Sony charging station)
System Compatibility Check: Confirm your PC meets Sony's minimum specifications on their official PS VR2 PC Adapter preparation page.
Step-by-Step Connection:
-
Software Installation: Install Steam, SteamVR, and the PlayStation VR2 app.
-
Bluetooth Pairing: Enable Bluetooth on your PC. On each Sense controller, press and hold the PlayStation and Create buttons until the light blinks. Pair them with your PC via the "Add device" option in Bluetooth settings. If using an external Bluetooth adapter alongside a built-in one, disable the internal Bluetooth driver in Device Manager.
-
Adapter Setup: Connect the PS VR2 adapter to a USB 3.0 Type-A port, using a DisplayPort 1.4 cable to connect it to your GPU's DisplayPort. Connect the AC power adapter. The adapter's indicator light will turn solid red when powered on. Connect the PS VR2 headset to the adapter's USB-C port.
-
(Optional) Disable Hardware-accelerated GPU Scheduling: For newer GPUs (e.g., Nvidia RTX 40-series), disabling this setting in Windows Graphics settings may improve stability. Restart your PC afterward.
-
Launch and Setup: Power on the PS VR2 headset. Launch SteamVR, setting it as your default OpenXR runtime. Open the PlayStation VR2 app to update controller firmware and configure the headset (Play Area, IPD, display distance, etc.). Follow on-screen instructions.
Direct Connection (Without Adapter)?
Currently, a direct connection without the adapter is unreliable. While some users with specific 2018-era GPUs featuring VirtualLink and a USB-C port report success using the PlayStation VR2 app, this is not a guaranteed method.
This comprehensive guide should enable a smooth PS VR2 PC setup. Remember to consult official documentation for the most up-to-date information.


-
1

Top Streaming Platforms for Live Sports in 2025
Jun 18,2025
-
2

GTA 6 Set for Fall 2025 Release, CEO Confirms
Apr 03,2025
-
3

Roblox: CrossBlox Codes (January 2025)
Mar 04,2025
-
4

First ALGS in Asia Emerges in Japan
Jan 19,2025
-
5
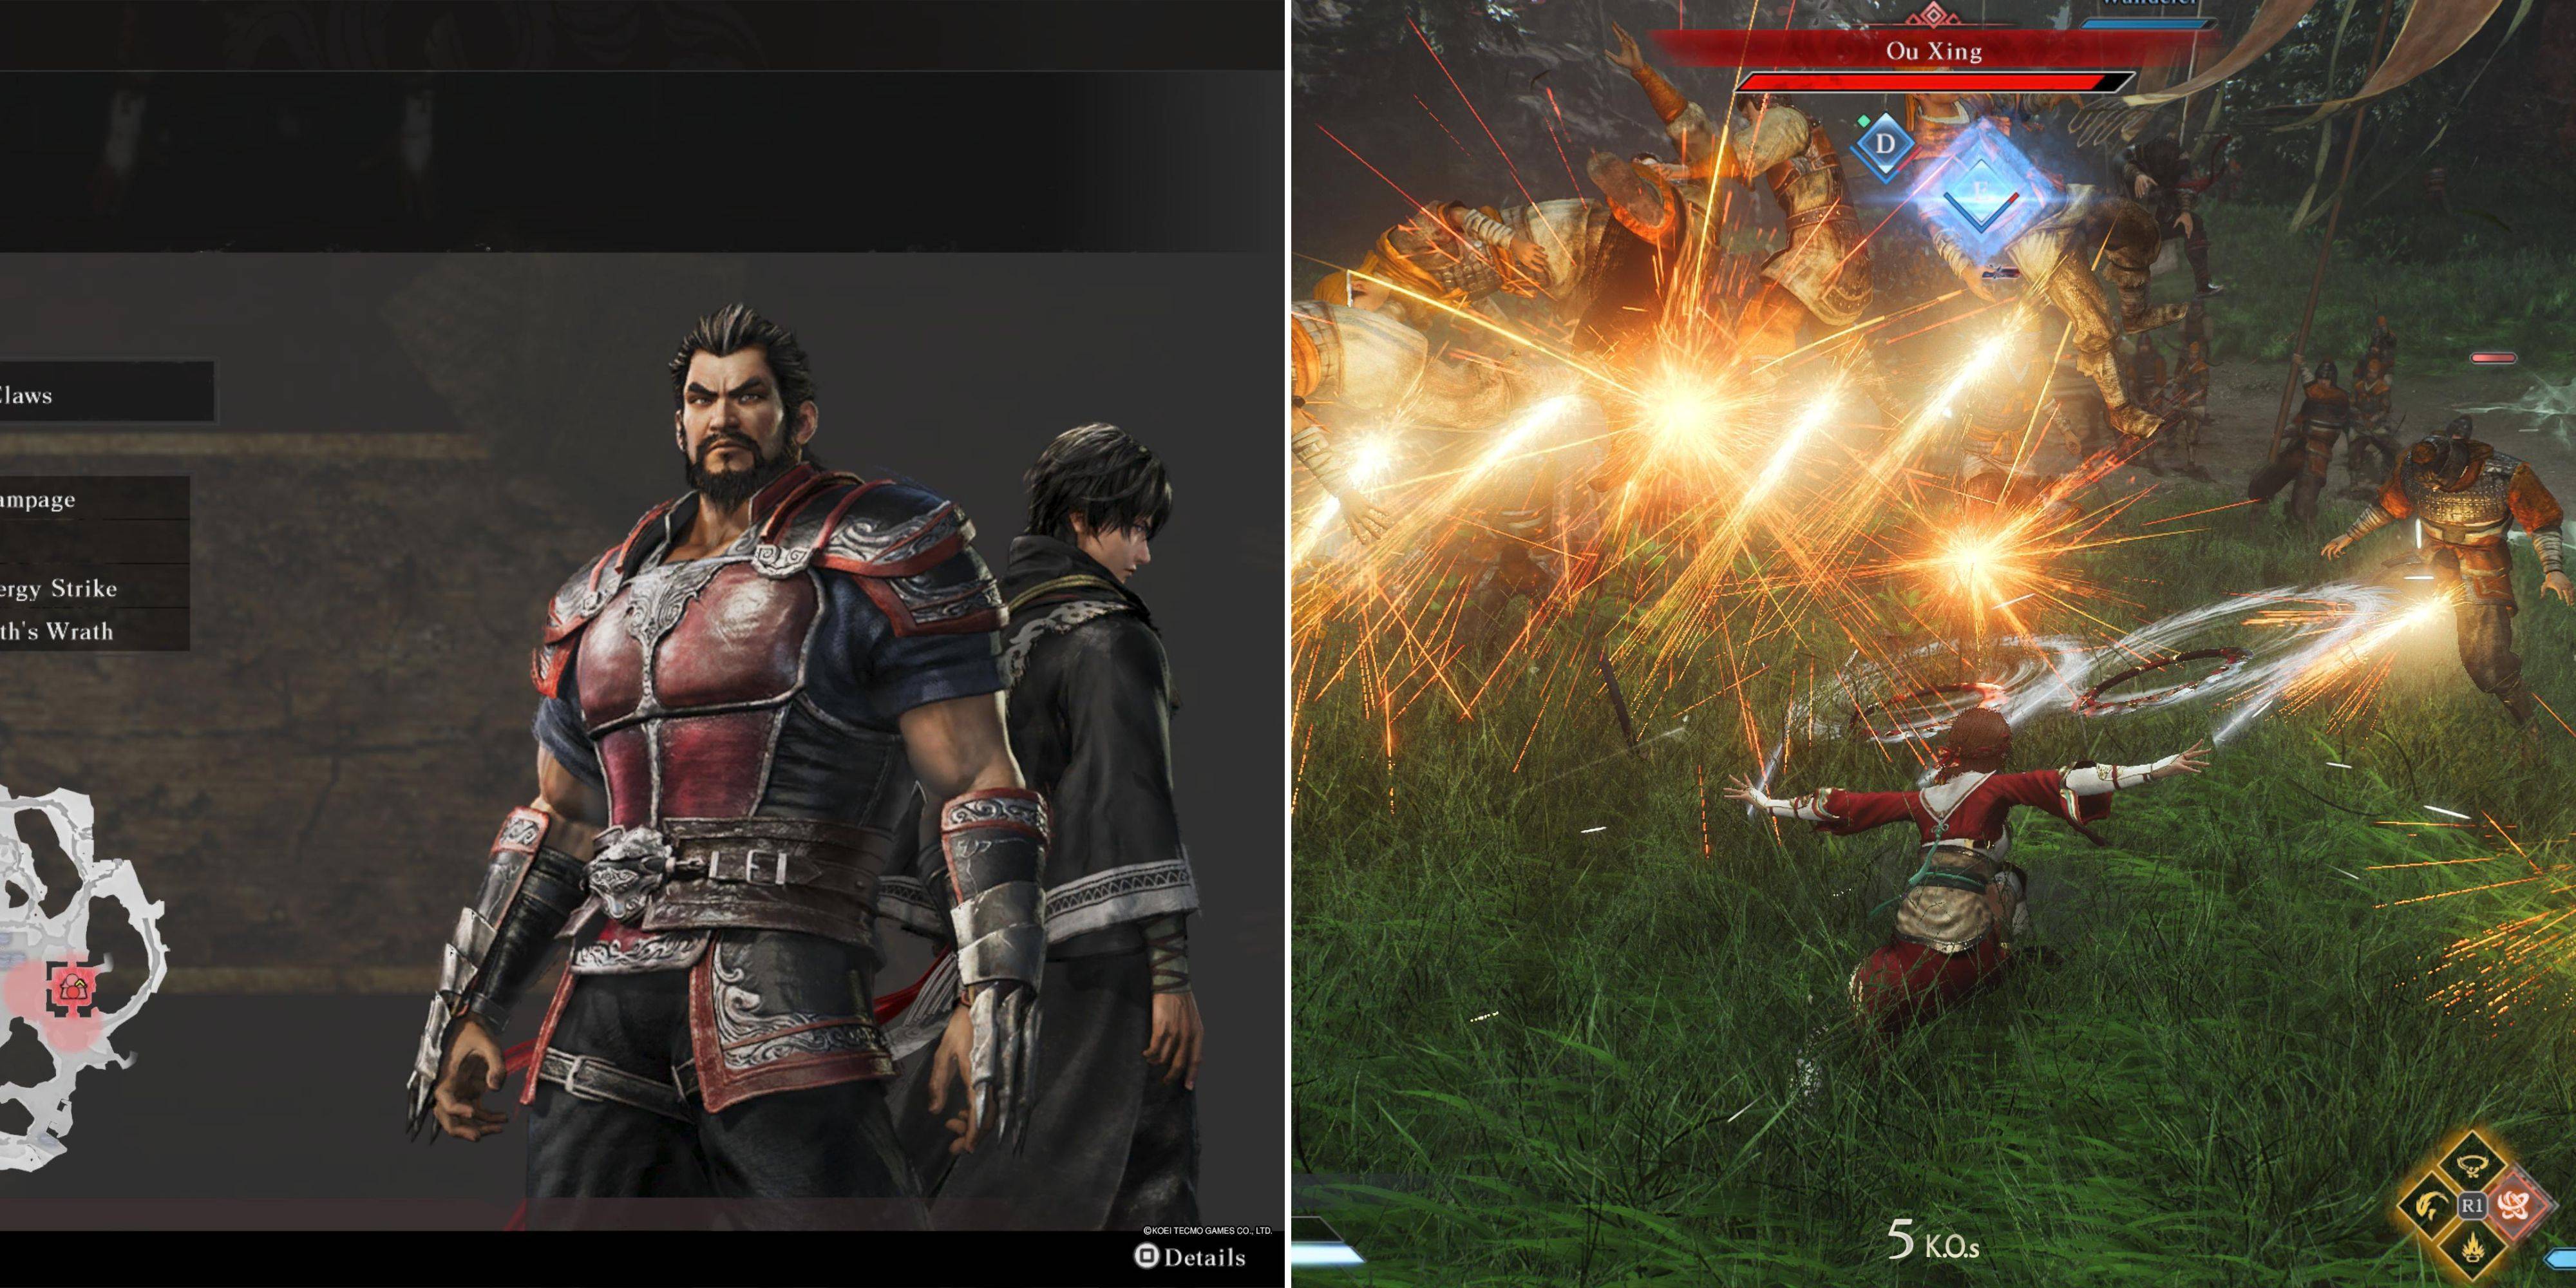
Introducing the Ultimate Guide to Seamless Character Swapping in Dynasty Warriors: Origins
Feb 25,2025
-
6
![Roblox Forsaken Characters Tier List [UPDATED] (2025)](https://img.jdzca.com/uploads/18/17380116246797f3e8a8a39.jpg)
Roblox Forsaken Characters Tier List [UPDATED] (2025)
Mar 05,2025
-
7
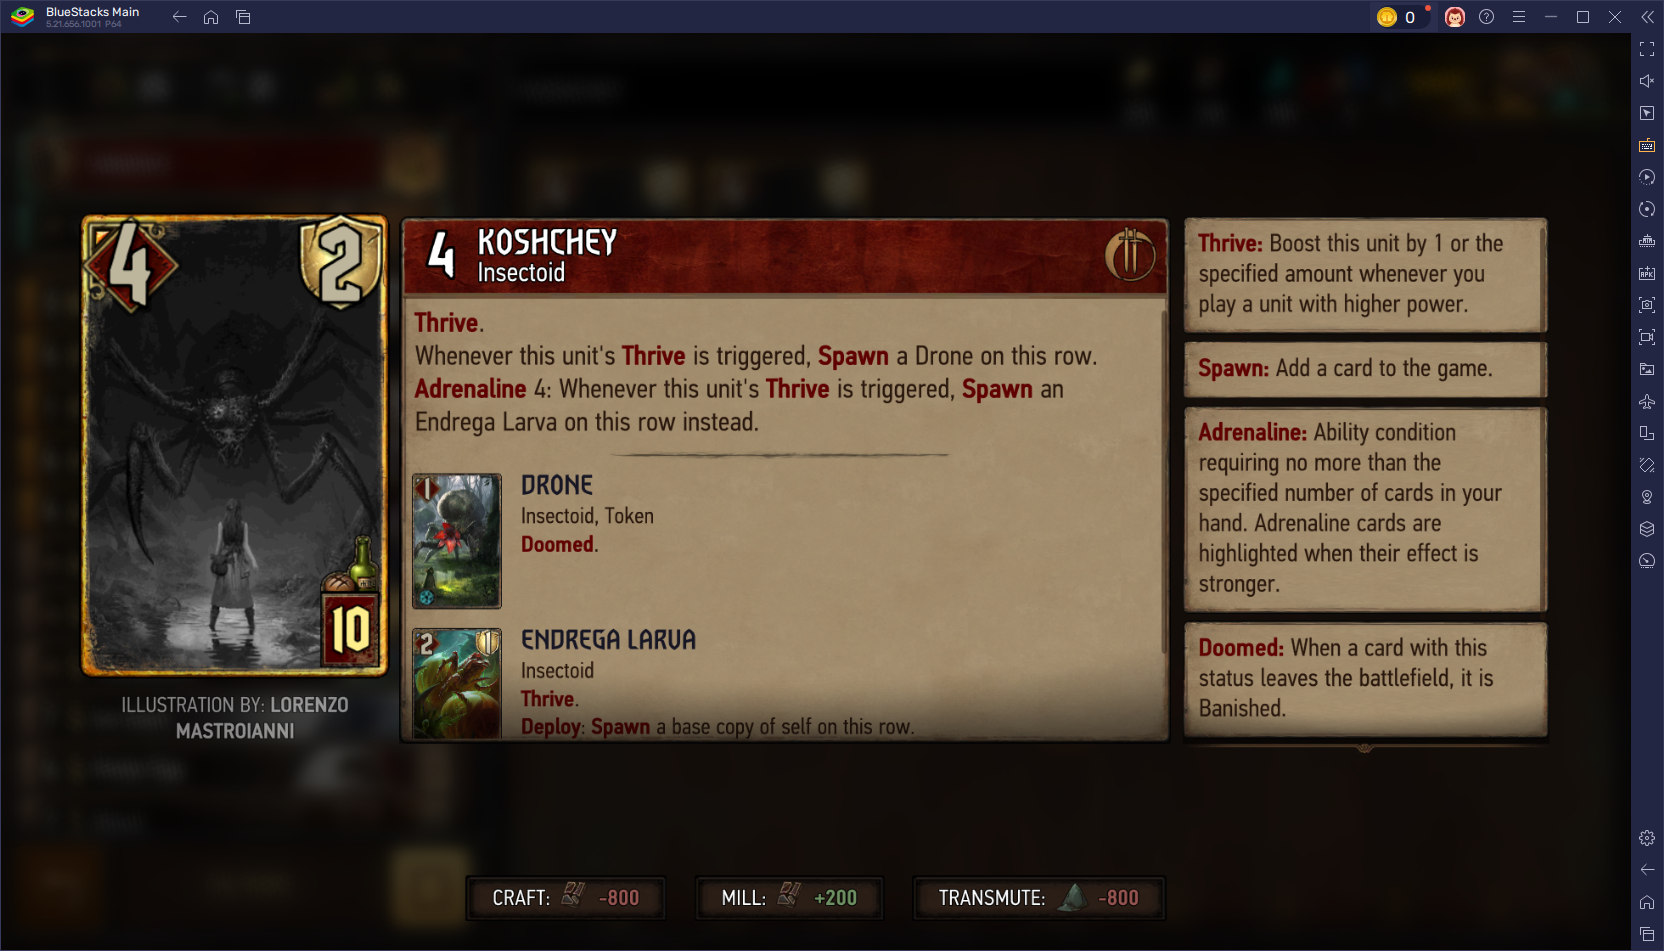
Gwent: Top 5 Witcher Decks (2025 Update)
Mar 13,2025
-
8

Max Hunter Rank in Monster Hunter Wilds: Tips to Increase
Apr 04,2025
-
9

Cute mobs in Minecraft: pink pigs and why they are needed
Mar 06,2025
-
10
Capcom Spotlight Feb 2025 Showcases Monster Hunter Wilds, Onimusha and More
Apr 01,2025
-
Download

Portrait Sketch
Photography / 37.12M
Update: Dec 17,2024
-
Download

Friendship with Benefits
Casual / 150.32M
Update: Dec 13,2024
-
Download

F.I.L.F. 2
Casual / 352.80M
Update: Dec 20,2024
-
4
[NSFW 18+] Sissy Trainer
-
5
Pocket Touch Simulation! for
-
6
슬롯 마카오 카지노 - 정말 재미나는 리얼 슬롯머신
-
7
Chubby Story [v1.4.2] (Localizations)
-
8
Life with a College Girl
-
9
Shuffles by Pinterest
-
10
Hunter Akuna