Mastering Dual Blades in Monster Hunter Wilds: Complete Guide to Moves and Combos
In the dynamic world of *Monster Hunter Wilds*, raw power isn't the only path to victory. Speed and strategic positioning can be just as crucial, allowing you to outmaneuver even the mightiest of beasts. This is where the Dual Blades shine, offering a blend of agility and relentless assault. Here’s how to master them and dominate the hunt.
Dual Blades in Monster Hunter Wilds
The Dual Blades are rapid and lethal, excelling at delivering a flurry of hits in quick succession. Mastering both its modes is key to handling any challenge thrown your way in the field.
All Moves
| Command | Move | Description |
|---|---|---|
| Triangle/Y | Double Slash/Circle Slash | A basic combo starter. Press Triangle/Y to perform a Double Slash, and follow up with Triangle/Y again to perform Circle Slash. |
| Circle/B | Lunging Strike/Roundslash | A slashing attack that advances in the direction of the analog stick. Press the command again for a Roundslash. |
| R2/RT | Demon Mode | Entering Demon Mode will boost the attack, movement speed, and evasion of hunters. It also grants immunity to knockbacks. |
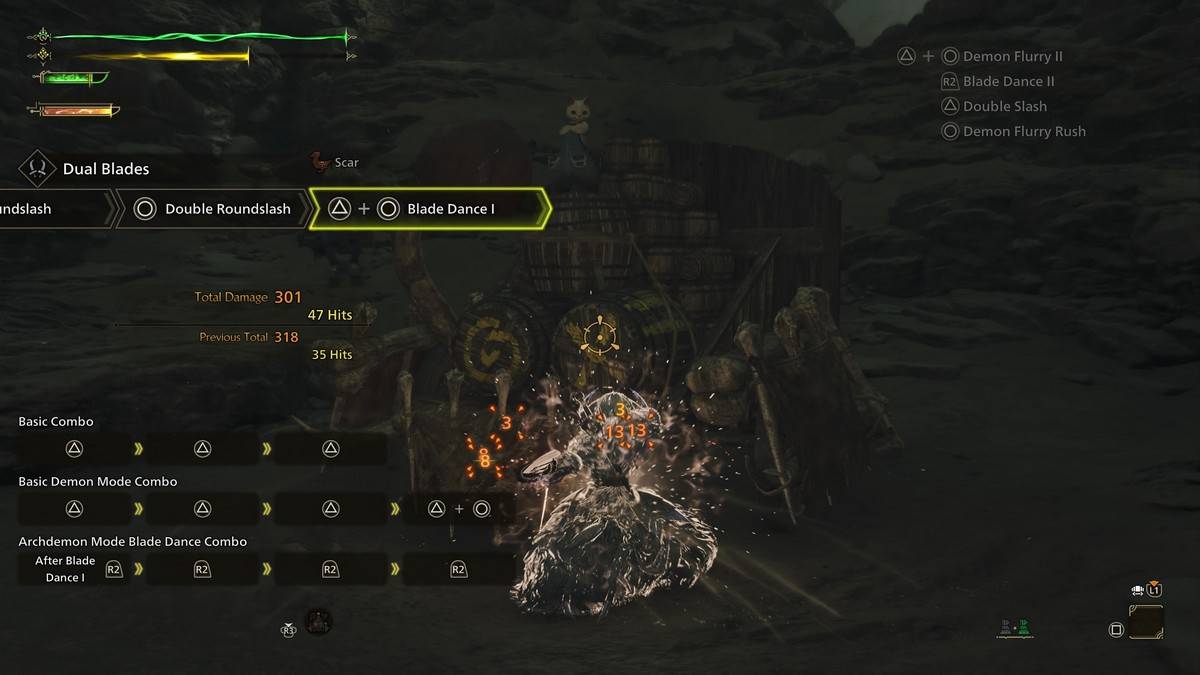
| Triangle/Y + Circle/B (In Demon Mode) | Blade Dance I, II, III | In Demon Mode, these powerful attacks can be chained together and will consume the Demon Gauge. |
| Triangle/Y + Circle/B (In Archdemon Mode) | Demon Flurry I, II | A series of attacks that can only be unleashed in Archdemon Mode and consumes the Demon Gauge. Use the analog stick to control the direction. Players can chain both Demon Flurry and Blade Dance attacks together using R2/RT. |
| Cross/A (During Demon/Archdemon Mode) | Demon Dodge | In the respective modes, pressing the button will initiate a dodge that is faster than normal. A Perfect Evade will let players attack while dodging, and provide a short-term buff. Demon Dodge will not consume the Demon Gauge while in Demon Mode. |
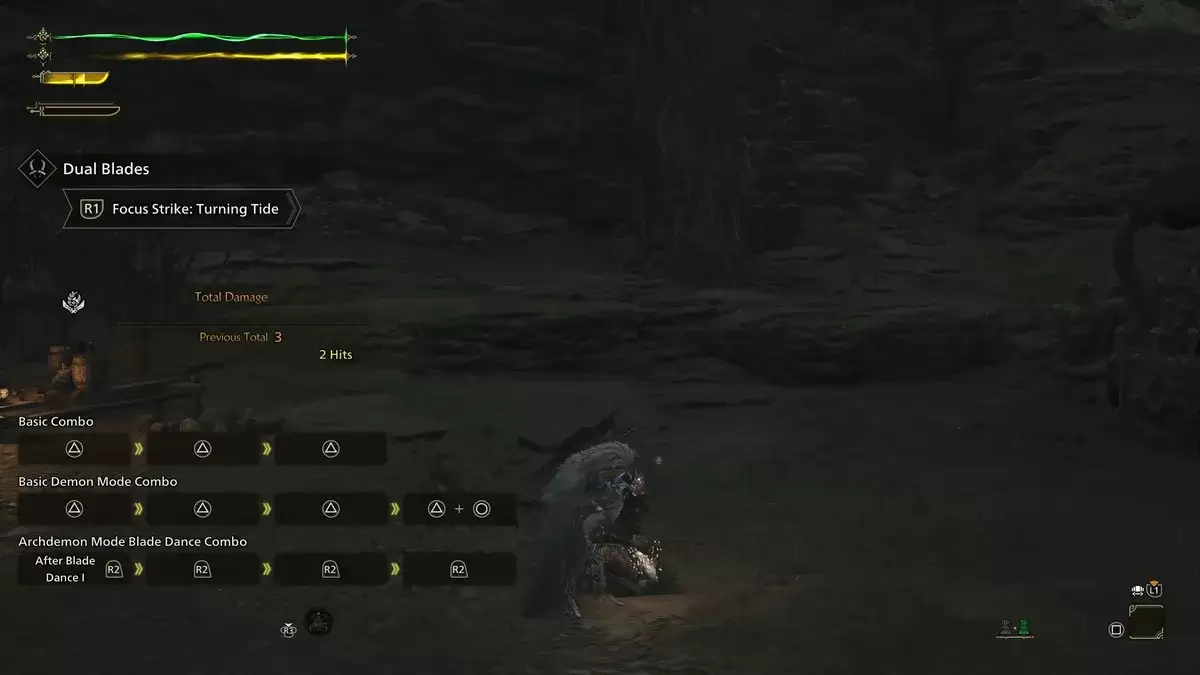
| L2/LT + R1/RB | Focus Strike: Turning Tide | A slashing attack effective against wounds, hitting a monster’s wound will perform a Midair Spinning Blade Dance. This attack spans the length of the monster and can destroy multiple wounds. |
Demon Mode/Demon Gauge and Archdemon Mode
The Dual Blades feature a unique Demon Gauge mechanic. Entering Demon Mode enhances your attack, movement speed, and evasion while granting knockback immunity. However, it constantly drains your stamina, ending when you manually cancel it or when your stamina hits zero. Landing attacks in Demon Mode fills the Demon Gauge, and once full, you transition into Archdemon Mode. Here, the gauge depletes over time but enables powerful, gauge-consuming attacks. Both modes can be used interchangeably, and the Demon Gauge stops decreasing when you mount a monster, giving you a strategic advantage.
Demon Dodge
A successful Perfect Evade activates Demon Dodge, boosting regular and elemental damage. It allows attacks during dodges and grants a 12-second damage buff. Subsequent dodges cause damage as you spin forward, enhancing your offensive capabilities.
Combos
Basic Combo
Start with three Triangle/Y attacks to execute Double Slash, Double Slash Return Stroke, and Circle Slash, offering reliable damage across various hunting scenarios. Alternatively, use Circle/B for the Demon Flurry Rush – Spinning Slash – Double Roundslash combo to quickly fill the Demon Gauge.
Demon Mode Basic Combo
In Demon Mode, your basic combo intensifies with Demon Fangs, Twofold Demon Slash, Sixfold Demon Slash, and can be capped with Triangle/Y + Circle/B for Demon Flurry I, increasing both power and speed.
Archdemon Mode Blade Dance Combo
After filling the Demon Gauge, switch to Archdemon Mode for swift, concentrated damage. Begin with Blade Dance (Triangle/Y + Circle/B) in Demon Mode, then press R2/RT four times for Demon Flurry I into Blade Dance II, and finish with Demon Flurry II and Blade Dance III. This seamless transition between modes unleashes devastating attacks.
Dual Blade Tips
Always Follow Up
Initiate with the Demon Flurry Rush combo (Circle/B + Circle/B + Circle/B), then transition into Demon or Archdemon Mode combos with three sets of Triangle/Y + Circle/B. This efficiently fills the Demon Gauge and delivers rapid, powerful attacks, unlike slower weapons like the Great Sword.
Keep Your Stamina Up
Demon Mode relies on stamina, so maintaining reserves is crucial. Exiting the mode helps recover stamina, but using Focus Strike on wounds halts stamina drain while filling the Demon Gauge, allowing for more aggressive attacks post-landing.
Dodging in Between Attacks
Without a solid defense, dodging becomes your lifeline. The Dual Blades offer exceptional mobility, allowing you to dodge out of most attacks and combos. Avoid overcommitting and watch for openings to strike effectively.
Ensure Sharpness
Continuous attacks with Dual Blades quickly dull your weapons. Utilize the Speed Sharpening skill in your build to minimize downtime and swiftly return to the fray.
These strategies will help you master the Dual Blades in *Monster Hunter Wilds*. For more tips and tricks, visit The Escapist.
*Monster Hunter Wilds is available now on PlayStation, Xbox, and PC.*


-
1

Top Streaming Platforms for Live Sports in 2025
Jun 18,2025
-
2

GTA 6 Set for Fall 2025 Release, CEO Confirms
Apr 03,2025
-
3

First ALGS in Asia Emerges in Japan
Jan 19,2025
-
4
![Roblox Forsaken Characters Tier List [UPDATED] (2025)](https://img.jdzca.com/uploads/18/17380116246797f3e8a8a39.jpg)
Roblox Forsaken Characters Tier List [UPDATED] (2025)
Mar 05,2025
-
5

Roblox: CrossBlox Codes (January 2025)
Mar 04,2025
-
6
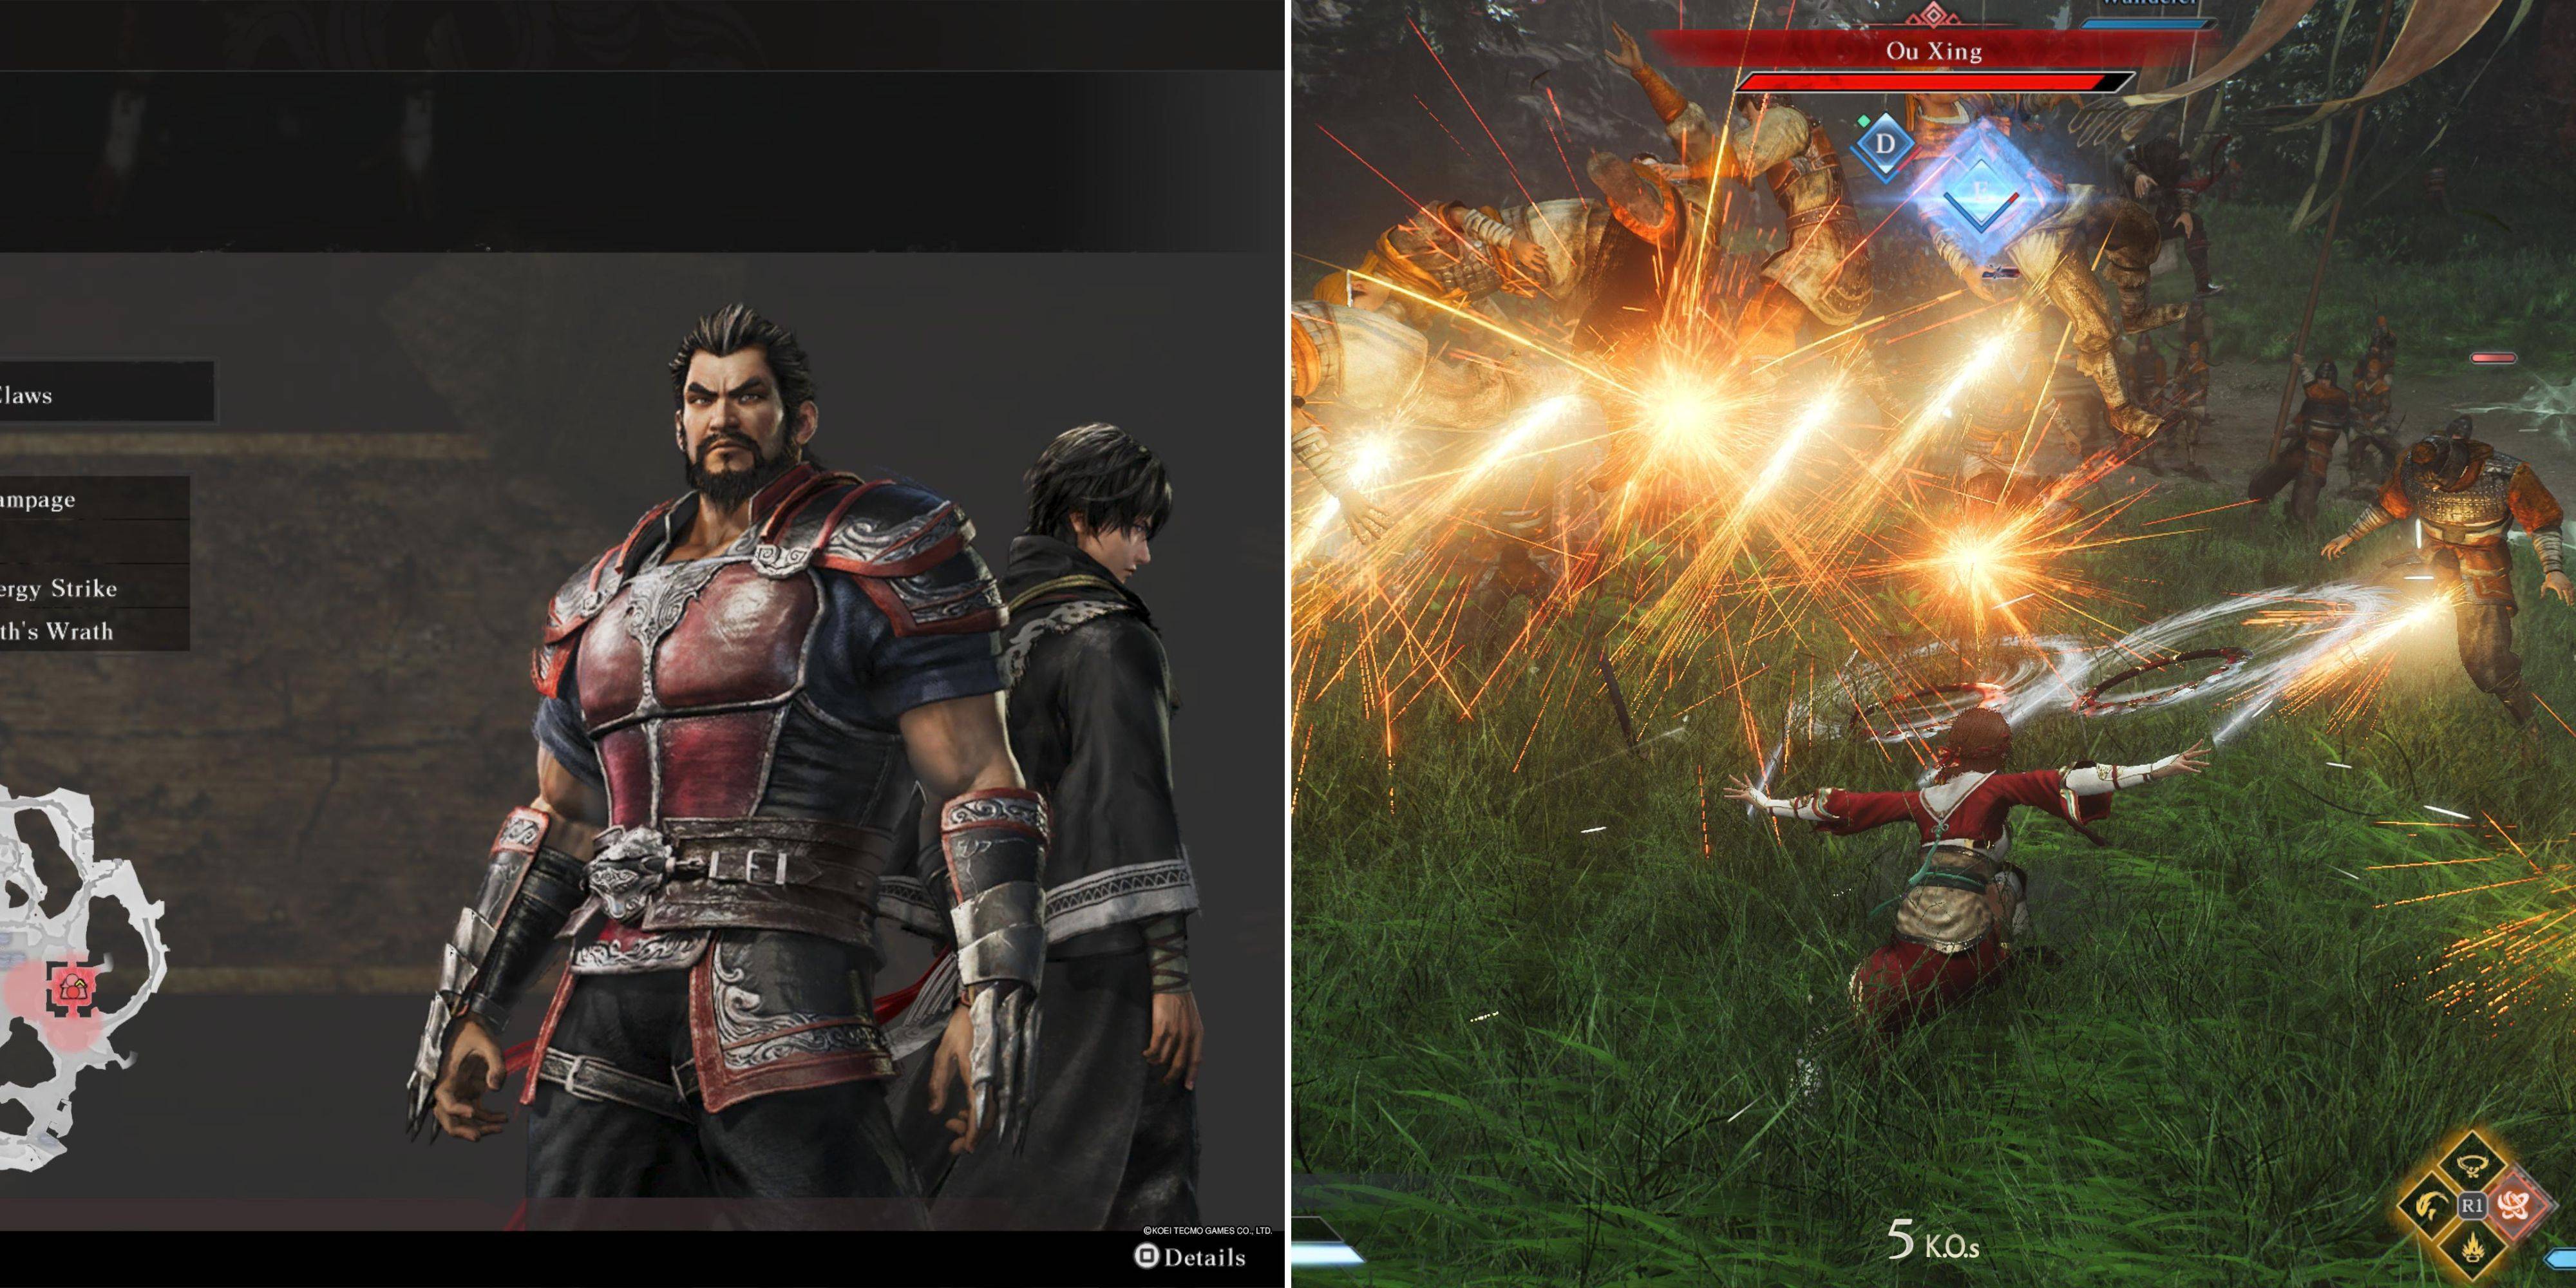
Introducing the Ultimate Guide to Seamless Character Swapping in Dynasty Warriors: Origins
Feb 25,2025
-
7
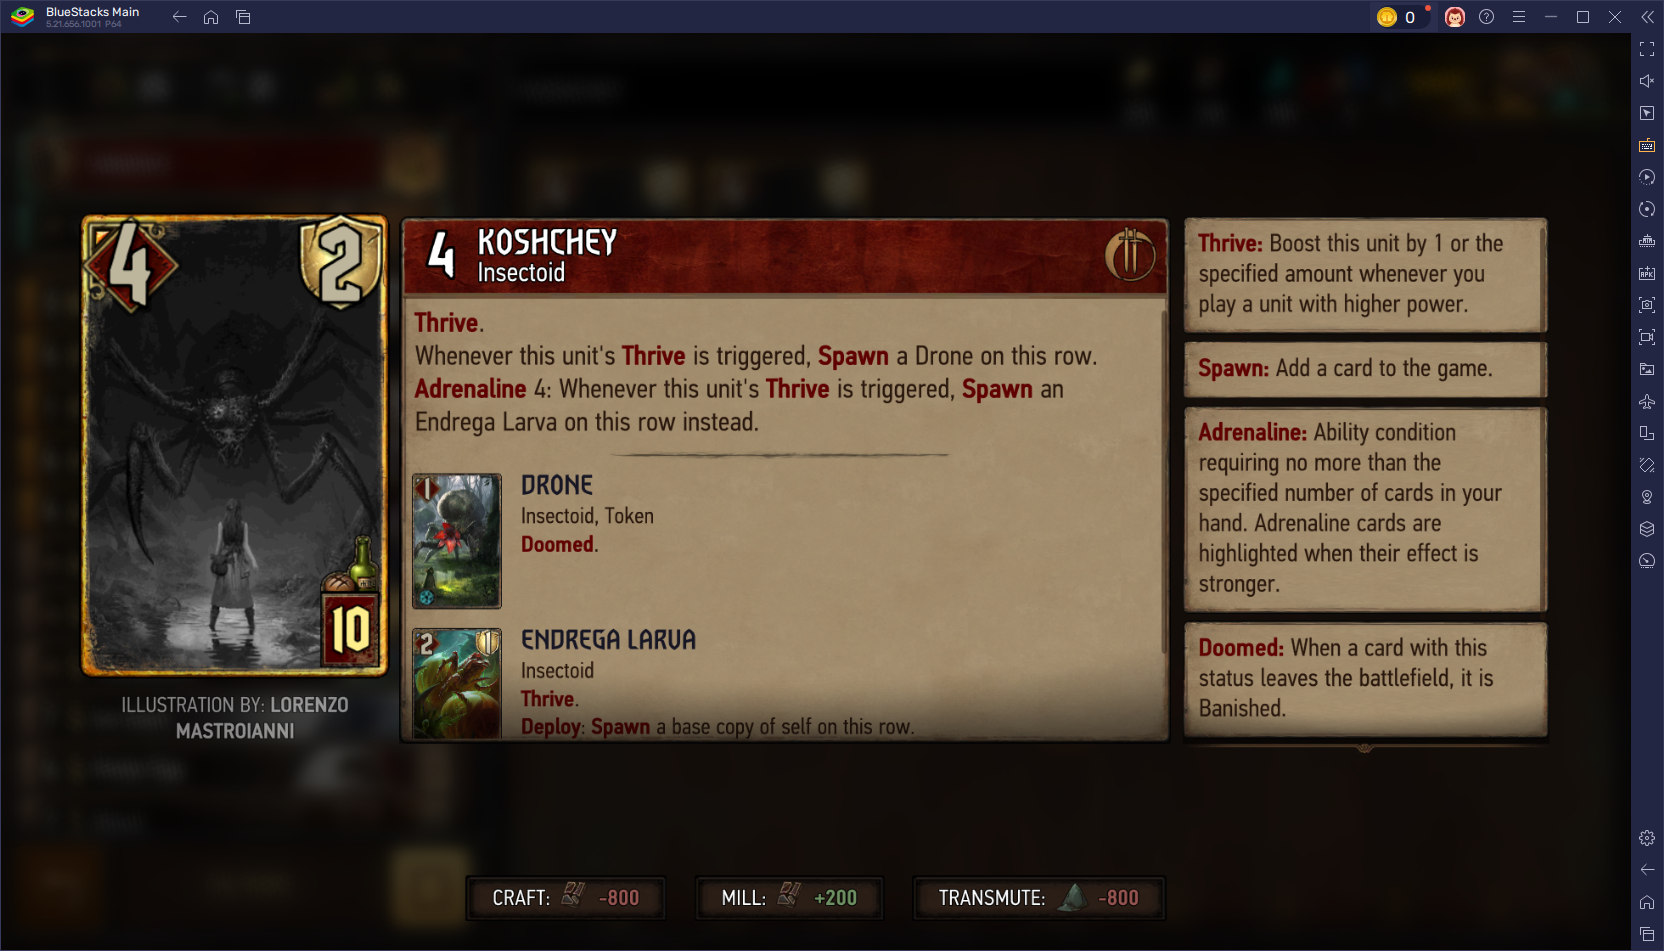
Gwent: Top 5 Witcher Decks (2025 Update)
Mar 13,2025
-
8
Cute mobs in Minecraft: pink pigs and why they are needed
Mar 06,2025
-
9
Max Hunter Rank in Monster Hunter Wilds: Tips to Increase
Apr 04,2025
-
10
Capcom Spotlight Feb 2025 Showcases Monster Hunter Wilds, Onimusha and More
Apr 01,2025
-
Download

Portrait Sketch
Photography / 37.12M
Update: Dec 17,2024
-
Download

Friendship with Benefits
Casual / 150.32M
Update: Dec 13,2024
-
Download

F.I.L.F. 2
Casual / 352.80M
Update: Dec 20,2024
-
4
[NSFW 18+] Sissy Trainer
-
5
Pocket Touch Simulation! for
-
6
슬롯 마카오 카지노 - 정말 재미나는 리얼 슬롯머신
-
7
Chubby Story [v1.4.2] (Localizations)
-
8
Life with a College Girl
-
9
Shuffles by Pinterest
-
10
Hunter Akuna